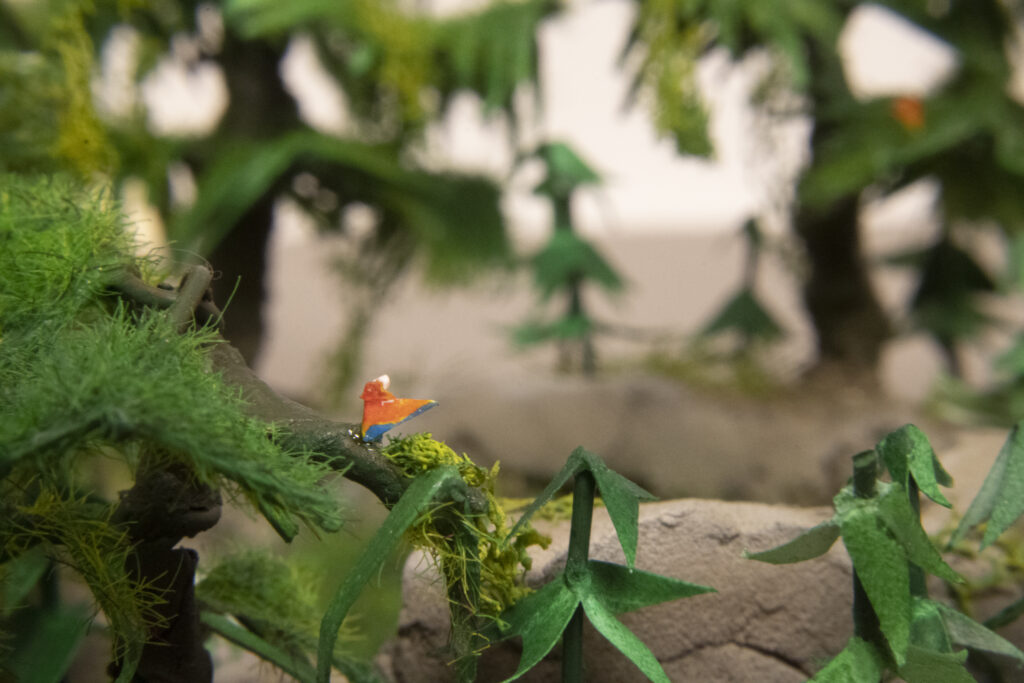
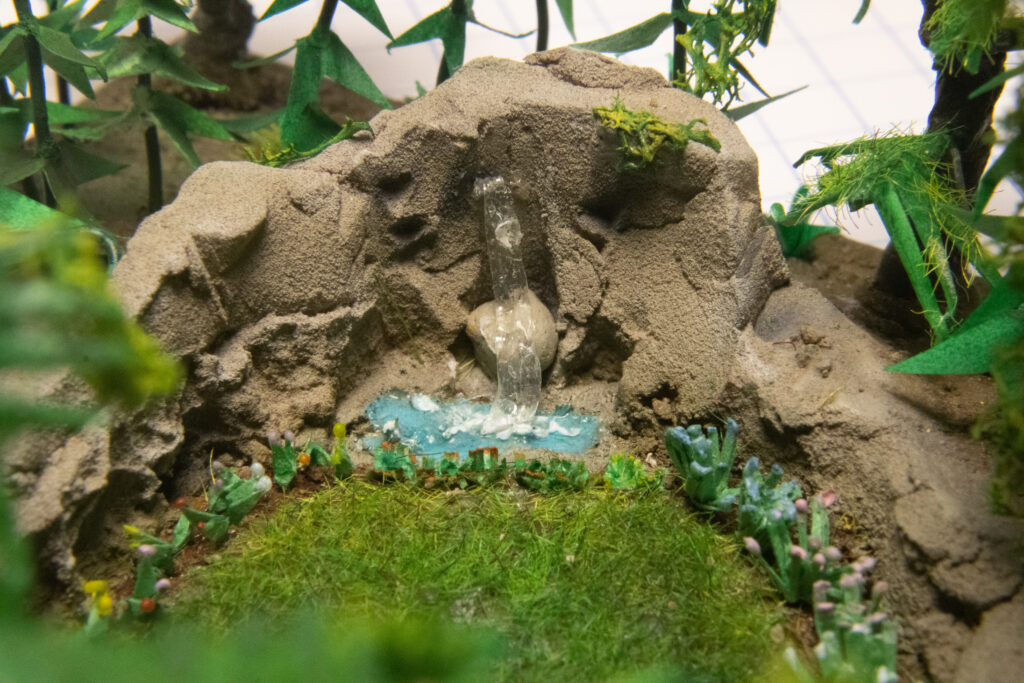
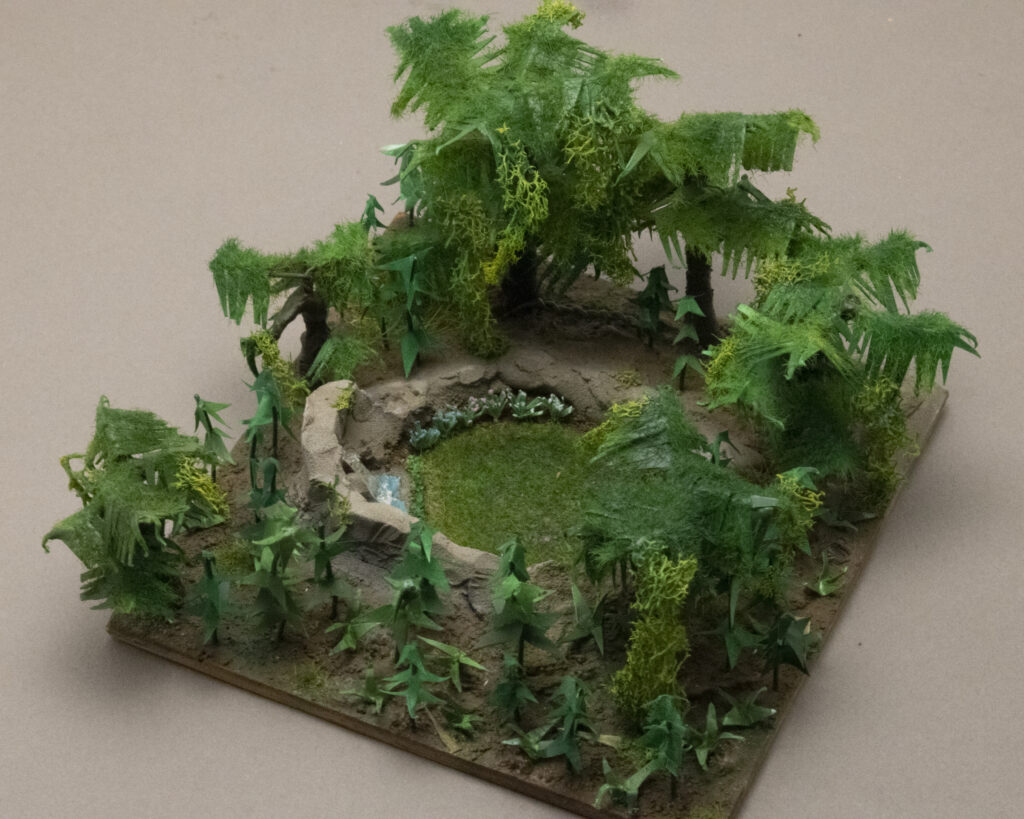
Rainforest Model

Objectives

  • Create a realistic model of a rainforest

Process

  • Cut base from 3mm plywood with jigsaw
  • Built terrain with spackle
  • Glued dirt to base, sealed with watered-down glue
  • Painted dirt and rock with airbrush
  • Built trees from wire and clay
    • Added texture to trunk with resin sand medium
    • Painted trunk with airbrush
    • Glued leaves cut from cardstock and then painted green
  • Built smaller plants from cardstock and wire
    • Painted with airbrush, then glued to base
  • Decorated clearing in the middle
    • Added static grass in the center
    • Made flowers from cut, painted construction paper
  • Added extra foliage with moss and static grass
  • Made a monkey from wire and clay, and parrots from cardstock

Conclusions

  • I am very pleased with how the scenery looks
  • Using paper to make the plants worked very well
FocusBracketer

Objectives

  • Automate the process of focus bracketing with a digital camera
    • Focus bracketing is taking multiple photos of the same subject with different depths of focus
      • These can then be combined in software to create a single photo entirely in focus
    • Some cameras have this feature built in, but mine does not
  • Require no permanent modifications to the camera and be easily removable 

Focus Bracketing Example

Single photo; the background is out of focus
Digital combination of five photos taken with the FocusBracketer; the whole photo is in focus

Process

  • Designed bracket to attach servo motor to camera, and 3D printed it
  • Created wheel for servo to turn the camera lens
    • Rubber grip is a length of audio cable glued to the wheel
  • Designed PCB in KiCad
    • Includes OLED screen and four buttons for the user interface
    • Has terminals to connect servo and camera shutter cables
    • Controlled by Seeduino XIAO microcontroller, programmed with Arduino framework
      • Chose this board because it can be soldered directly to the PCB, which keeps the device low profile 
      • Program allows user to set start point, end point, and number of steps
        • As start/end points are being set, the servo is jogged
  • Tested device by taking close-up photos of small objects

Reflection

  • The device generally works well
    • Sometimes the servo does not travel to the right place after the endpoint is set
      • This could be because the wheel is slipping
      • Measuring the rotation of the camera lens and providing feedback to the microcontroller could fix this 
    • Is much more efficient than moving the lens manually, and results in more consistent images
  • The process was a good test of my PCB milling skills
    • This was the largest PCB I had made in a while

Nativity Scene

Objectives

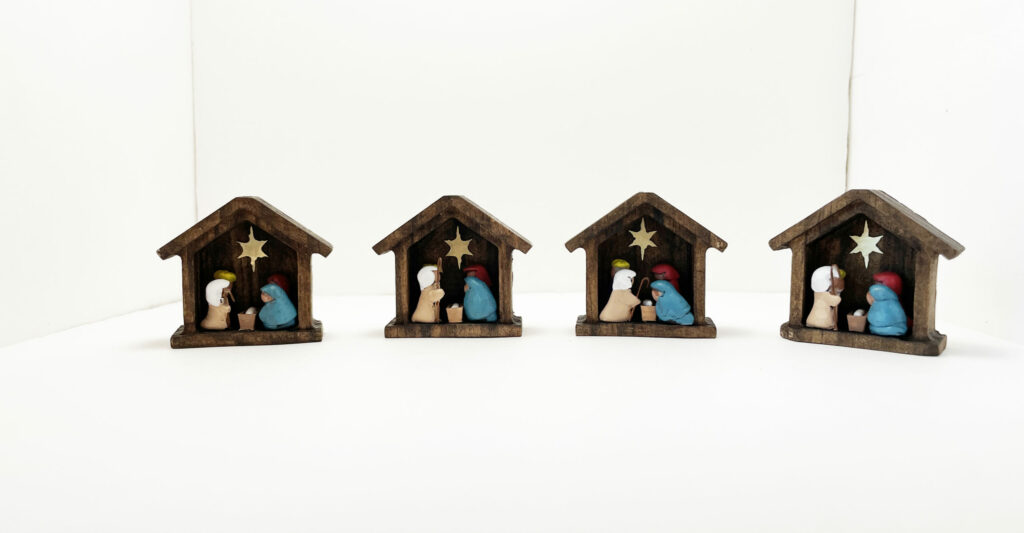
  • Create christmas ornament as gifts for relatives
  • Build process should be scalable so many can be made

Process

  • Stable and manger designed in Rhino
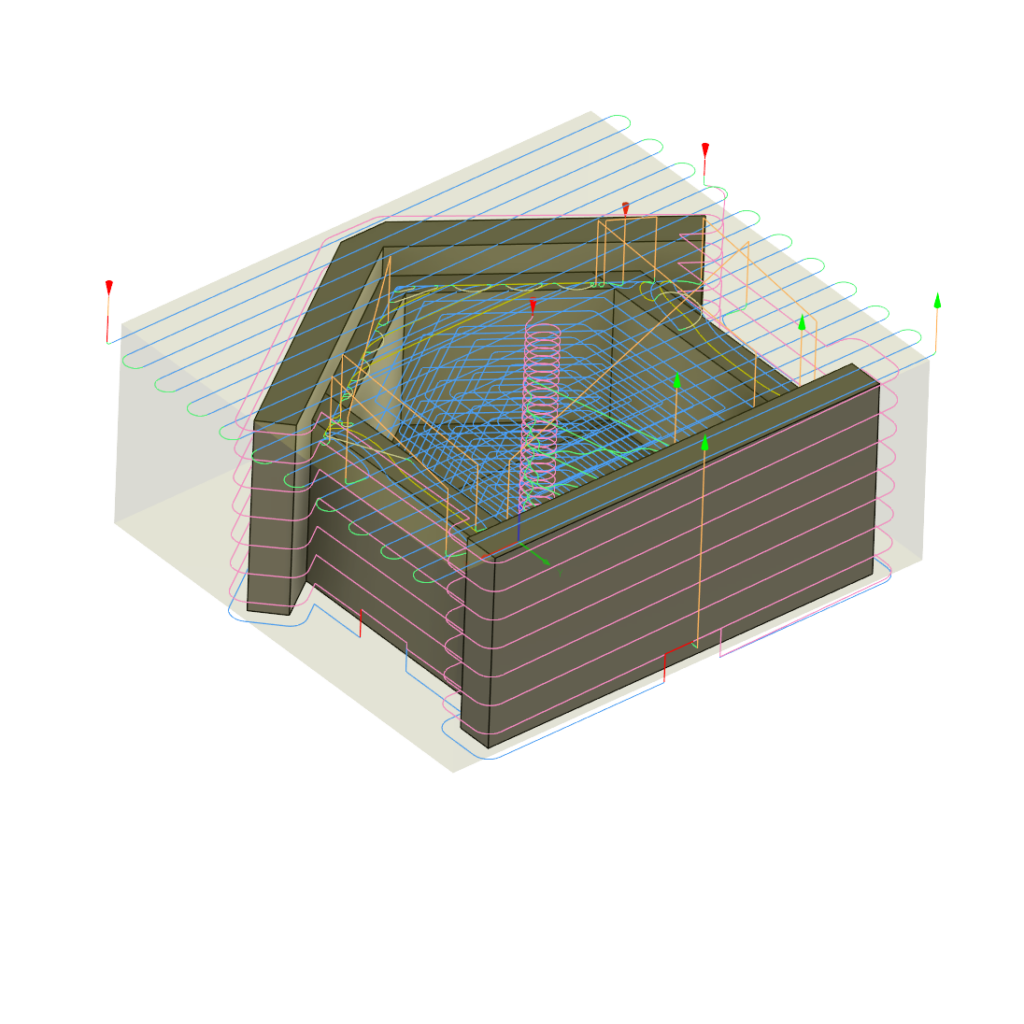
  • CNC toolpath for stable programmed in Fusion 360
  • Stock for milling cut from 2×6 with jigsaw
  • Workpiece milled with â…œ inch end mill at slow feedrate
  • Stable finished with sanding, wood stain, and varnish
  • Figures inside stable molded from air-dry clay
    • Looks more organic than 3D printed people
  • Painted with acrylic paint and sealed with varnish
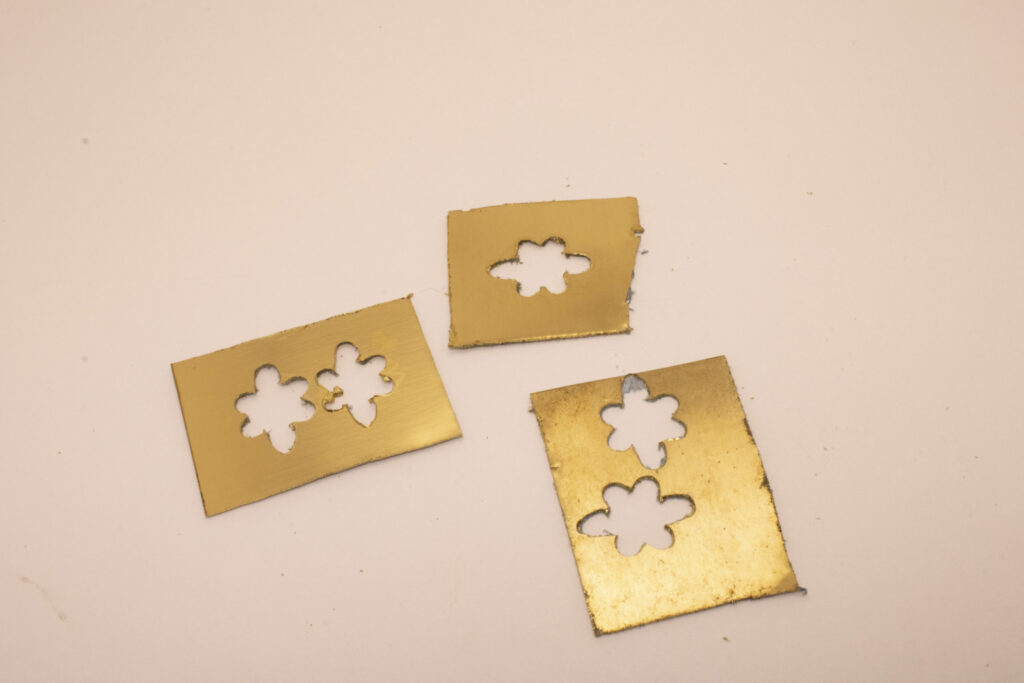
  • Star in stable milled from brass on CNC machine
    • Used very slow feedrate with .8 mm end mill
  • Finished with filing and polishing
CNC toolpath in Fusion360
Brass stock after milling star

Conclusions

  • I am pleased with how these ornaments turned out
    • I will use clay again in the future as an alternative to 3D printing
  • I was able to make seven to give as gifts
    • Once the first one was done, I was able to make the rest in batches
    • This process made the painting of the figures much more efficient

Chain Puller

Objectives

  • Integrate fluorescent light fixture into smart home system
  • Device should work consistently

Process

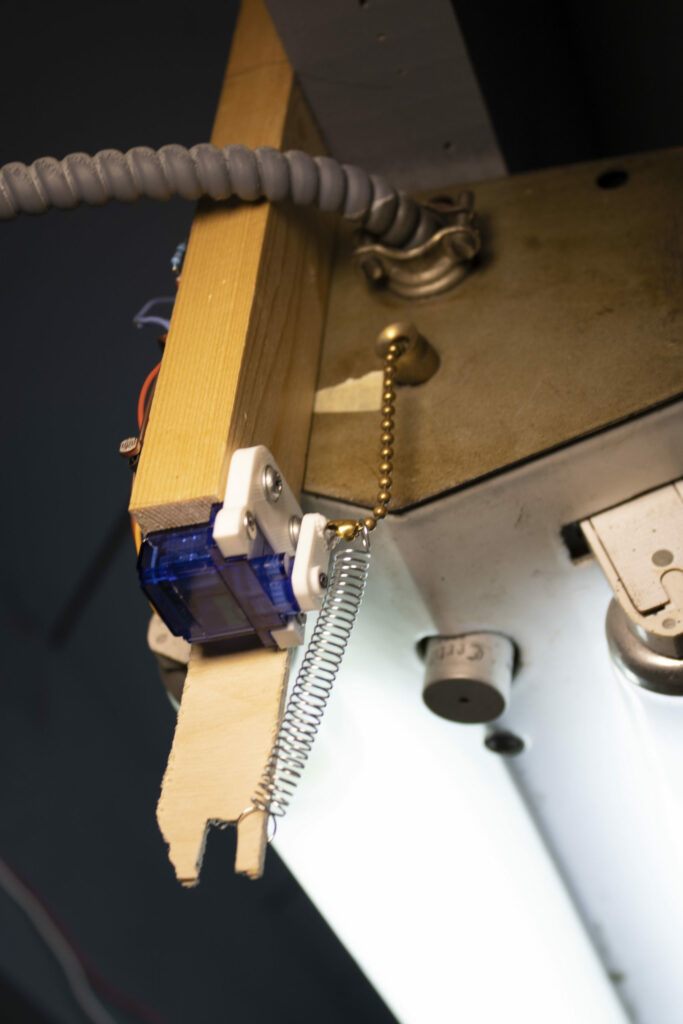
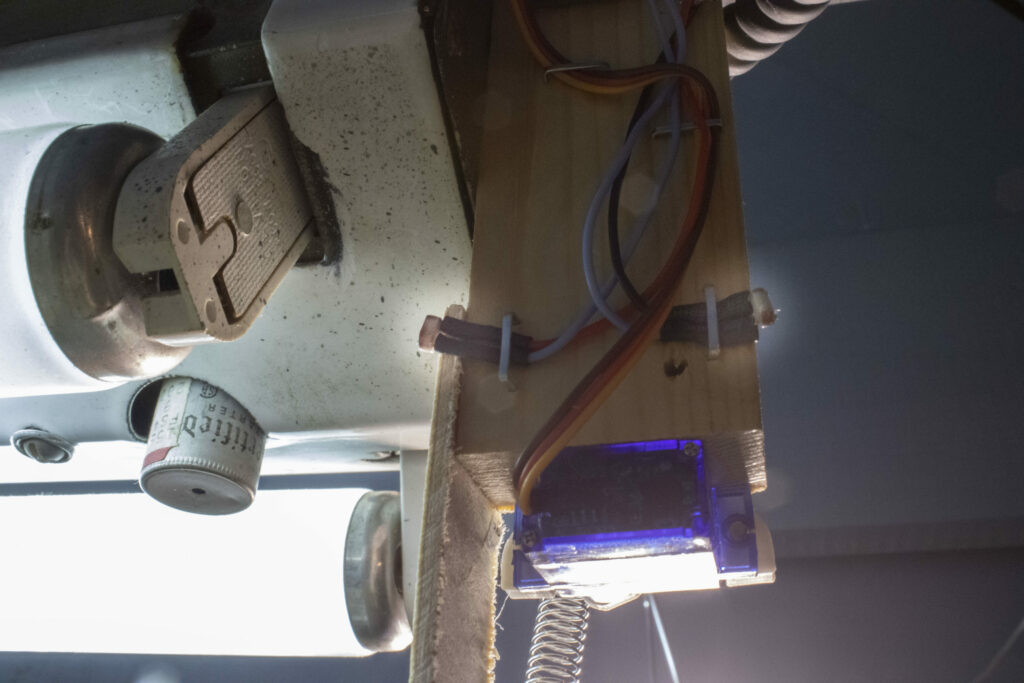
  • Tested pulling light chain with servo motor
    • Added spring to give the device more pulling power
    • Adjusted servo moving distance to pull the chain correctly
  • Modified lightbulb example from esp-homekit-sdk to control servo
    • Runs on ESP-32 development board
  • Added light state sensor
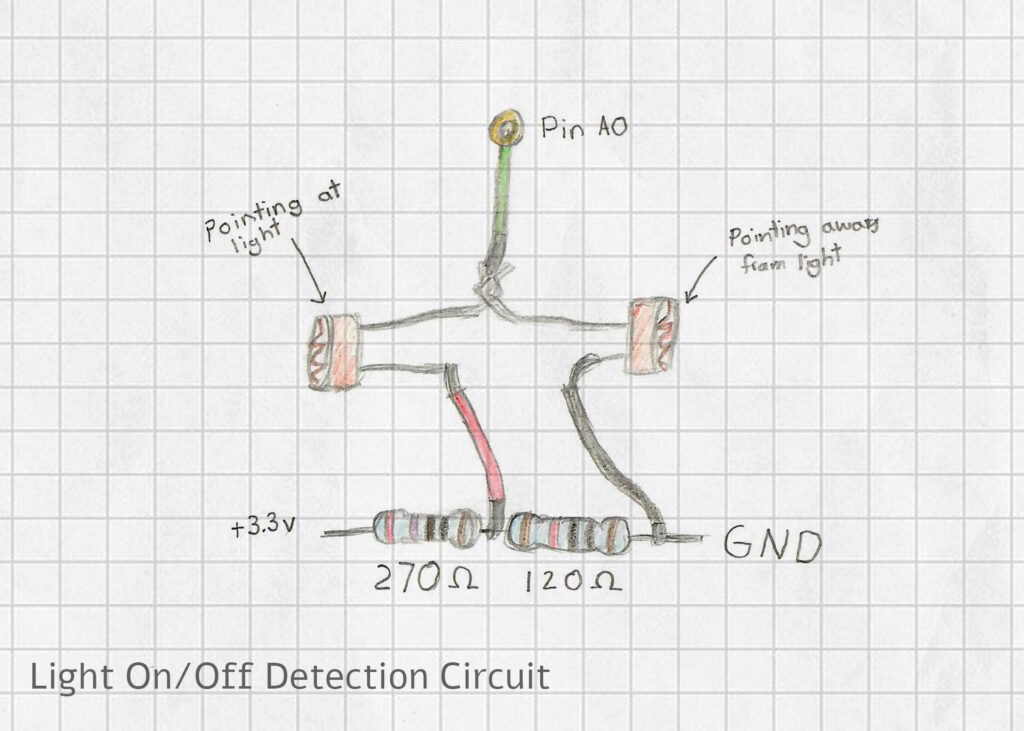
    • Compares two photoresistors to determine on/off state of fluorescent fixture
      • Two photoresistors allow the sensor to be accurate regardless of external light levels
    • Interfaced sensor with esp-homekit-sdk to display state of light in smart home app

Conclusions

  • Successful project- is used daily
  • Fails to fully pull the chain occasionally
    • Sensor allows this error to be noticed by the user so they can try again
    • Adjusting servo travel distance may help with this issue, or using a stronger actuator
  • Chain gets disconnected from servo arm sometimes, but it can be reattached
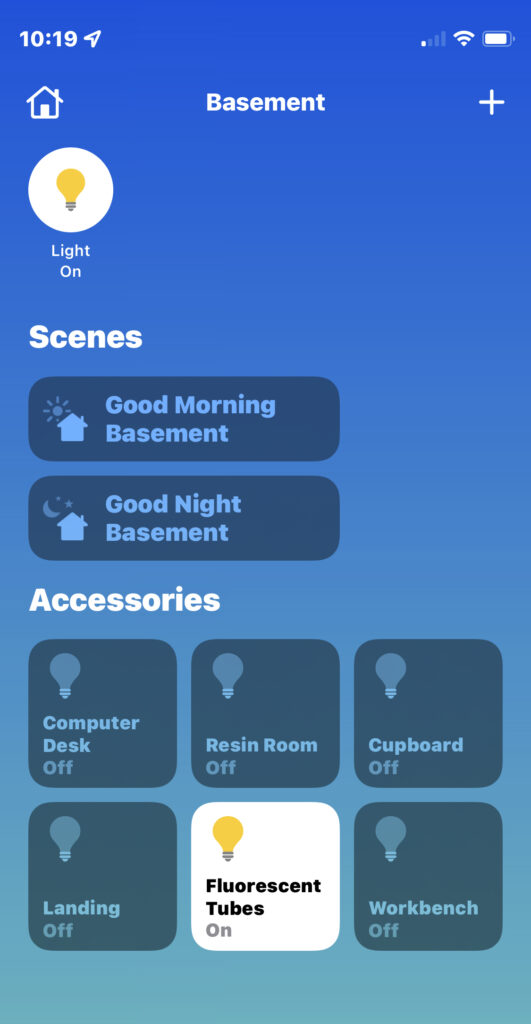
Appears in Apple’s Home app
One photoresistor faces the light, the other away

Bike Eye

Objectives

  • Detect cars behind cyclist and alert them audibly and visually
  • Provide a cheaper alternative to cycling radars like Garmin Variaâ„¢

Process

  • Tested an ultrasonic rangefinder, but its range was too limited
  • Decided to use an ESP32 camera board with a machine learning model to detect cars
    • Programmed in C++ using ESP-IDF
    • Code based off of TensorflowLite image classification and Espressif SD Card examples
    • Initial version of firmware only collects photographs and saves to SD card
    • Collected about 1100 images to train ML model
  • Case designed in Onshape, 3D printed in PLA
    • Velcro used to attach electronics
    • Powered by Li-ion battery

Future work

To complete this project, I will need to:

  • Add TensorflowLite model to firmware
  • Create alert system
    • Buzzer, if loud enough, or display mounted to handlebars
  • Expand case
    • I think a larger battery will be necessary
  • Road-test completed device and collect more photos for continued training
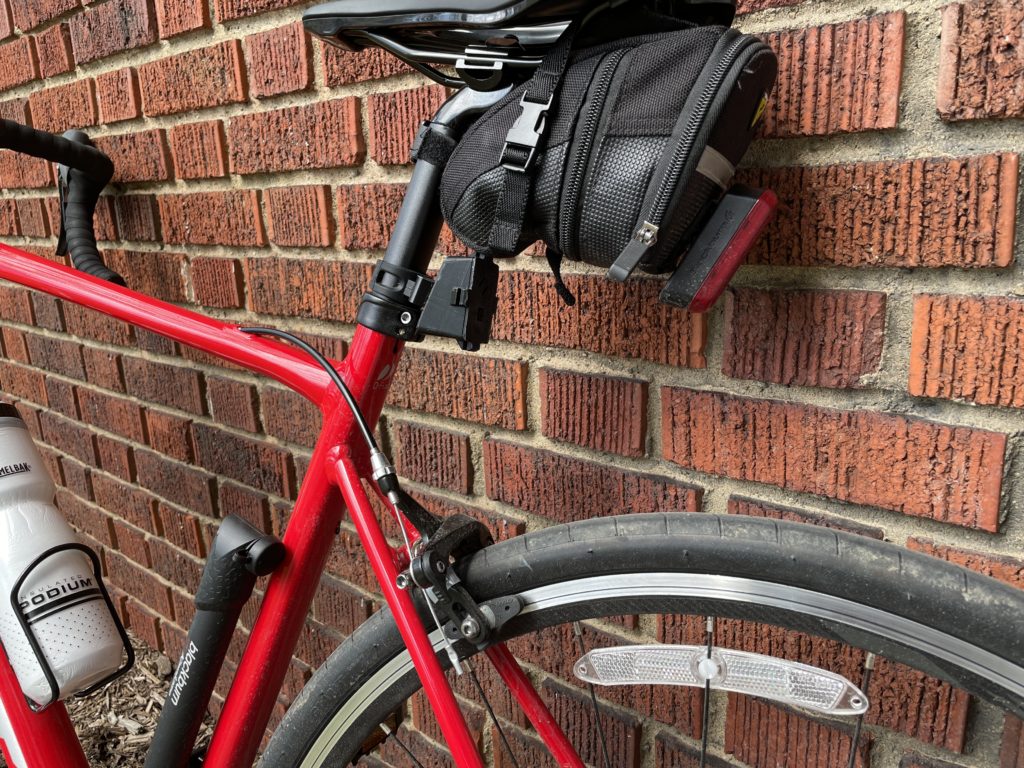
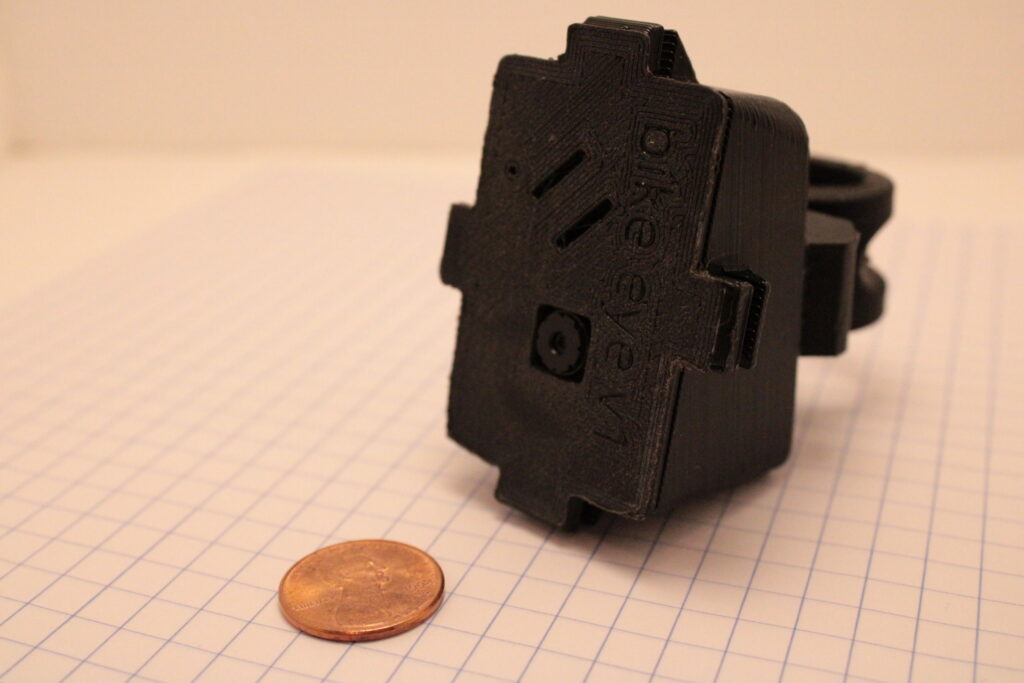
Bike Eye on my bike
Example image taken by Bike Eye
Bike Eye attached to my bike
Initial ultrasonic rangefinder prototype
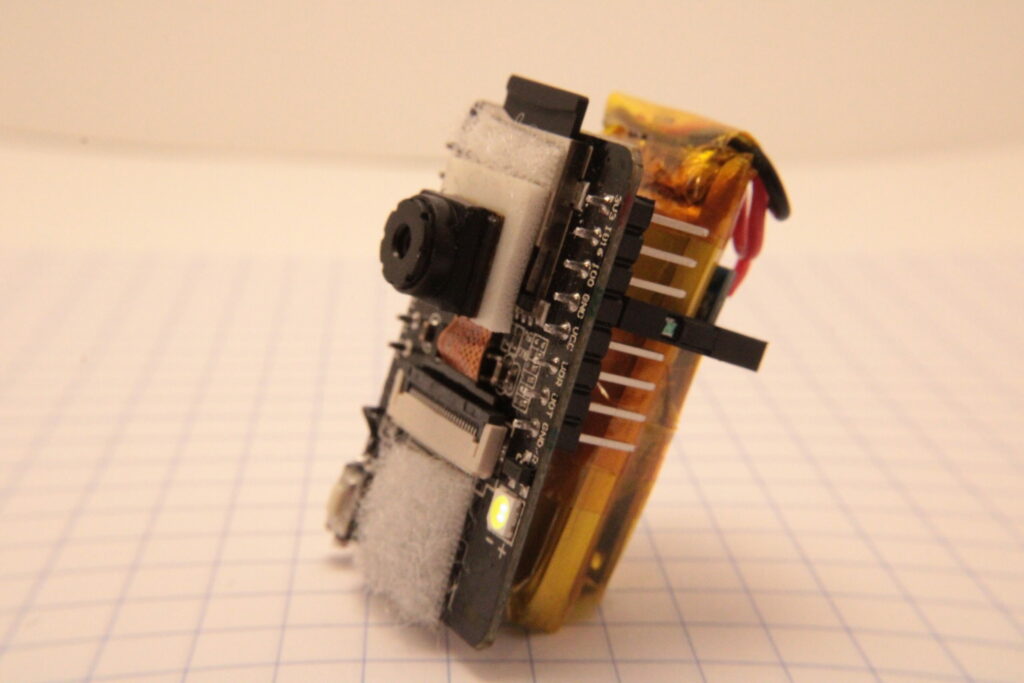
ESP32 camera board, with Li-ion battery
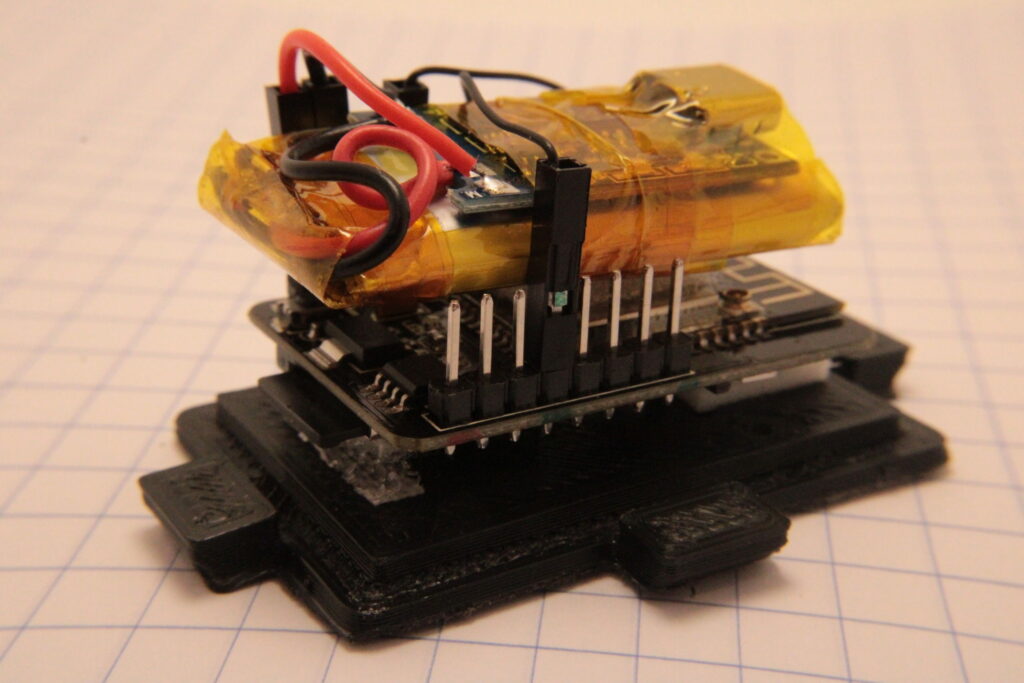
Internal electronics attached to case front piece
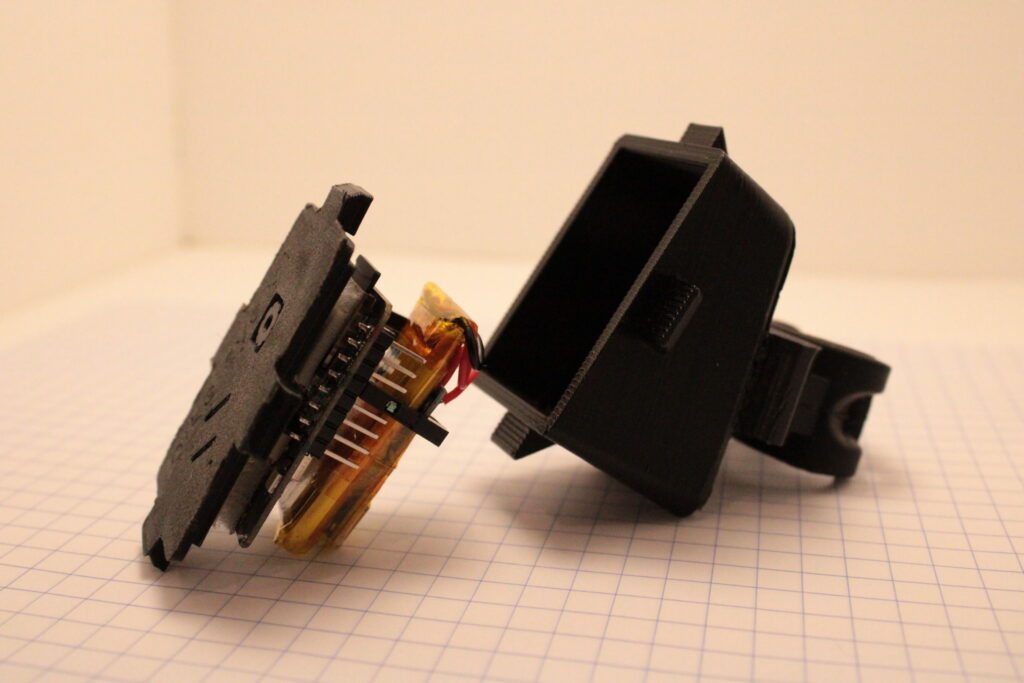
Front and back pieces of enclosure
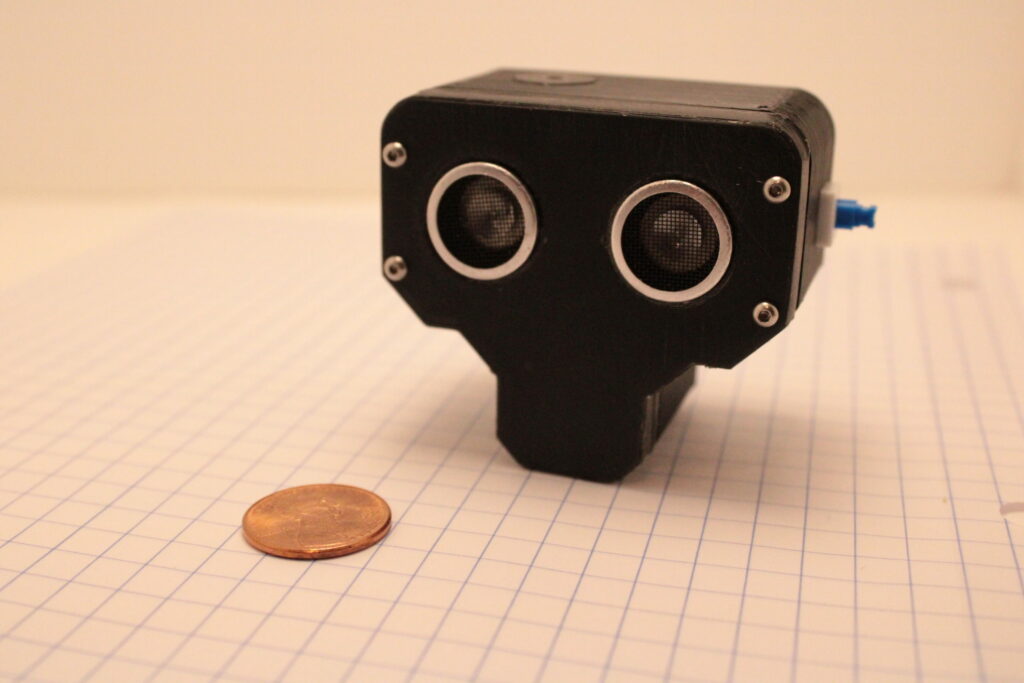
Completed Bike Eye case

PCB Probes

Objectives

  • Connect quickly and effectively to PCB traces
  • Be cheap and easy to make
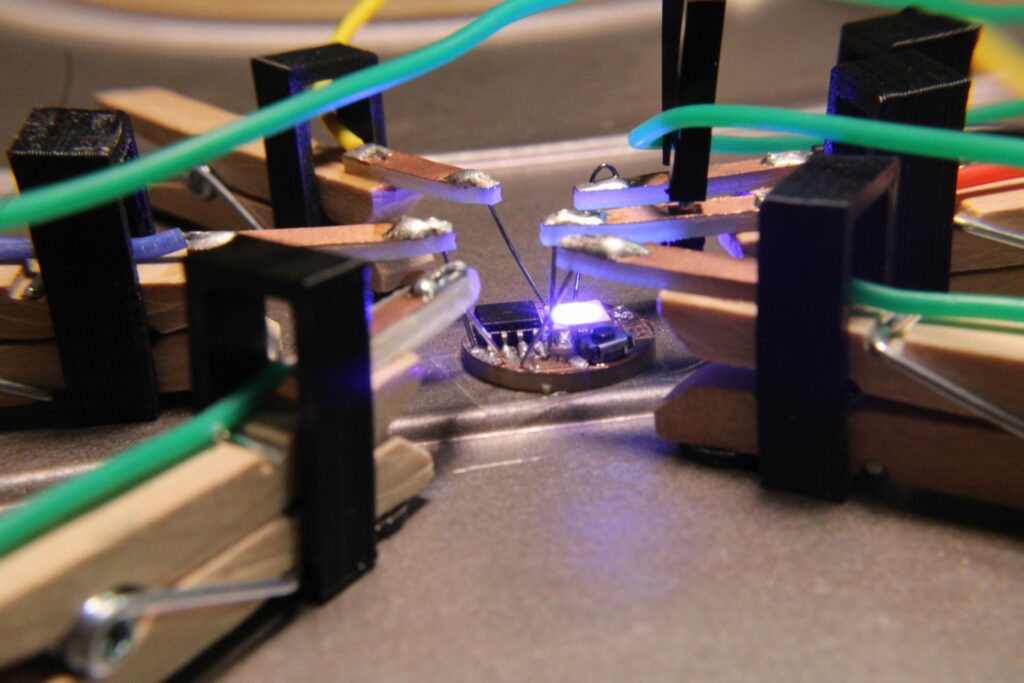
  • Allow in-circuit reprogramming of microcontrollers

Process

  • Tested various designs for probes
    • Decided on clothespin because it pushes down on board
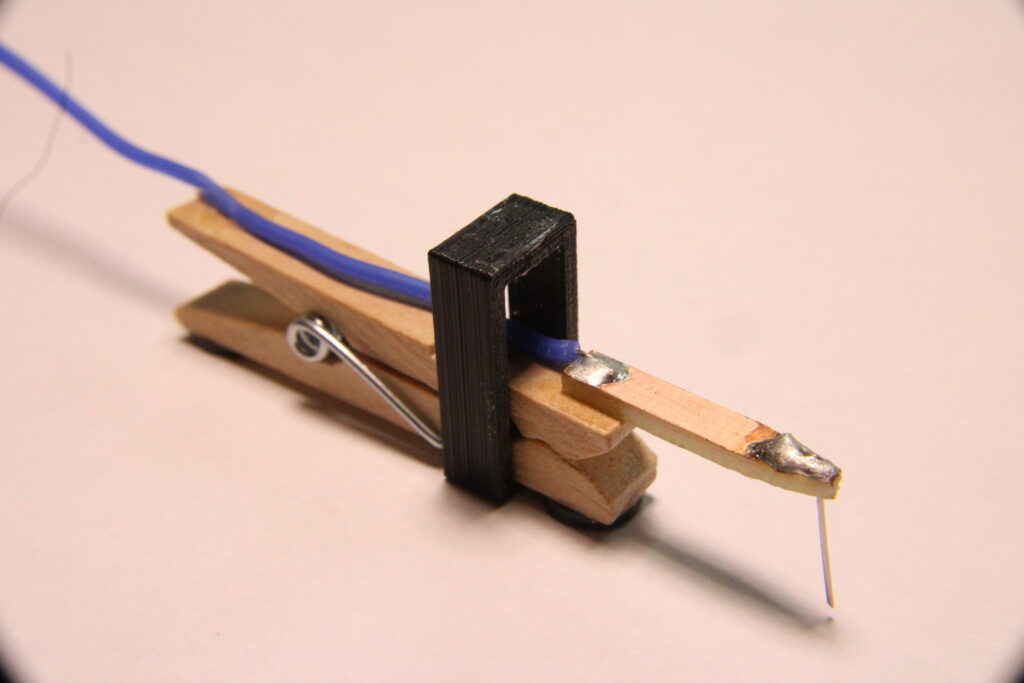
  • Designed PCB tip in KiCad, milled on CNC machine
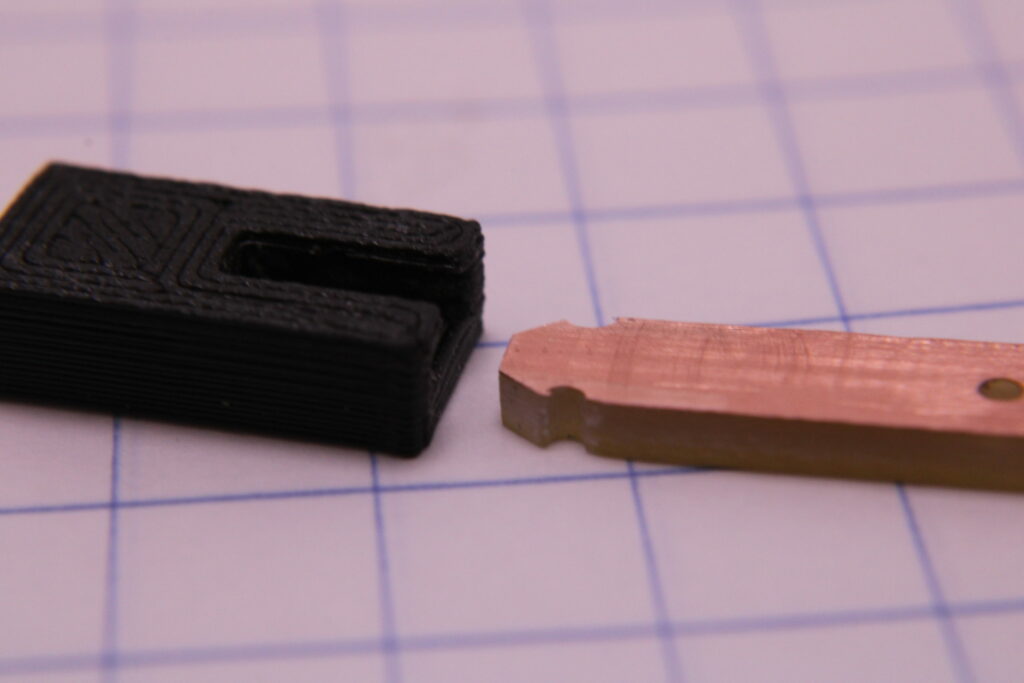
  • Designed socket to make swapping probe tips easy, and aligner to keep probe centered
    • Socket and aligner 3D printed in PLA
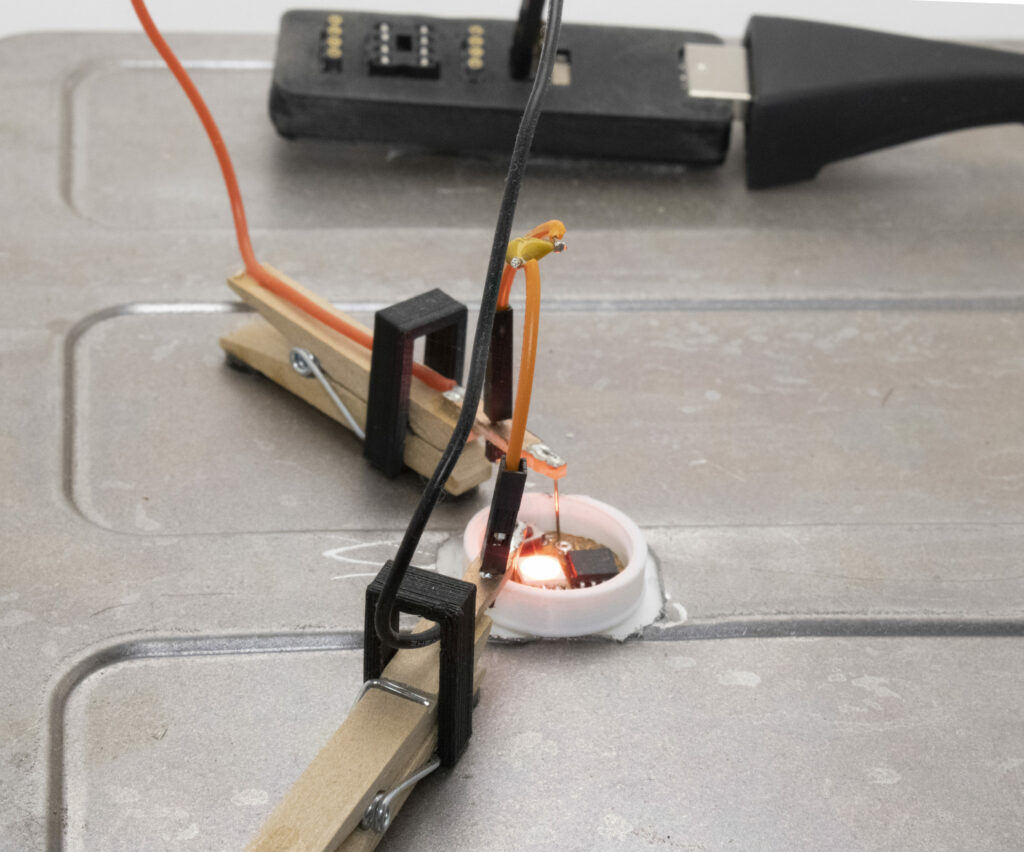
    • Socket, aligner and magnets superglued to clothespin
  • Clothespins magnetically attracted to base, an extra toaster tray
  • PCB secured to base with double-sided tape

Reflection

Quick change socket for probe tip
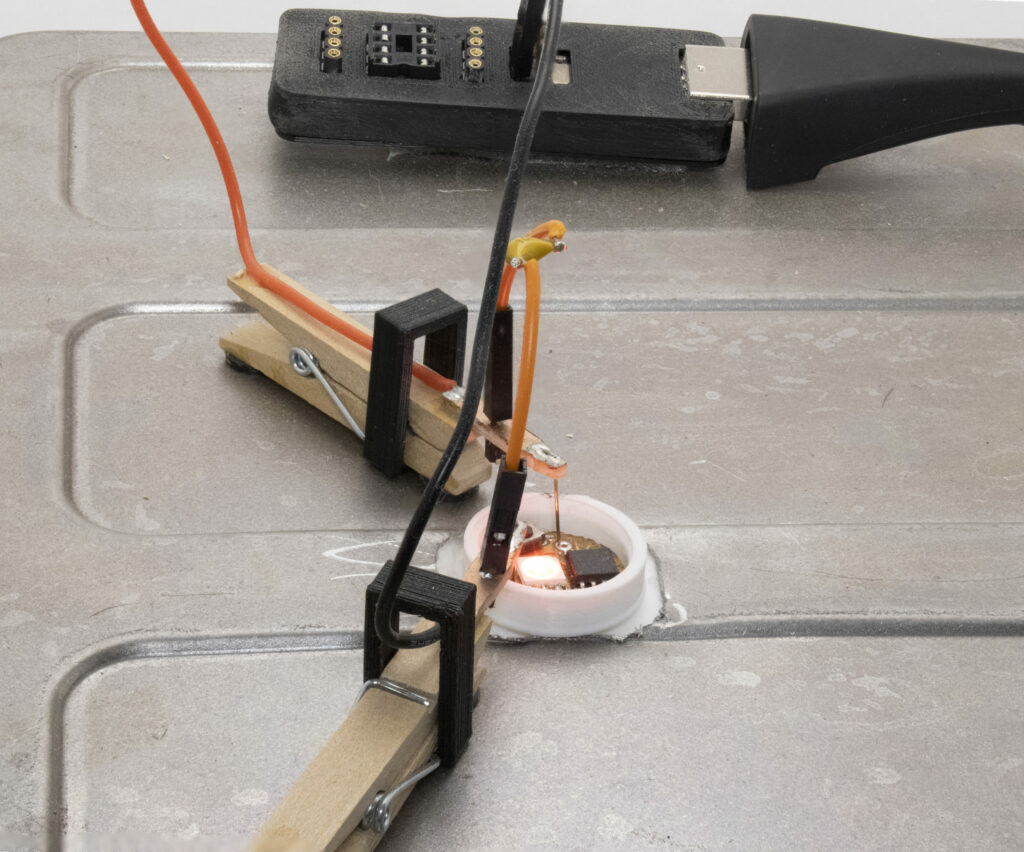
Powering circuit with probes

RGB Handlebars

Objectives

  • Make cyclist more visible to cars by adding lights on the sides of the bike
    • Makes the shape of the bike more defined than if there were only lights on the front and back
  • Look cooler than a single color light
  • Have a long-lasting battery

Process

  • Initial design used an RGB pattern LED in a long tube
    • Tube contains two AAA batteries to provide 3V to the LED
    • LED diffuser sticks out from handlebars to be more visible
      • Latched pushbutton underneath turns the light on/off
    • Electronics connected with thin magnet wire
  • Second design was more compact and customizable
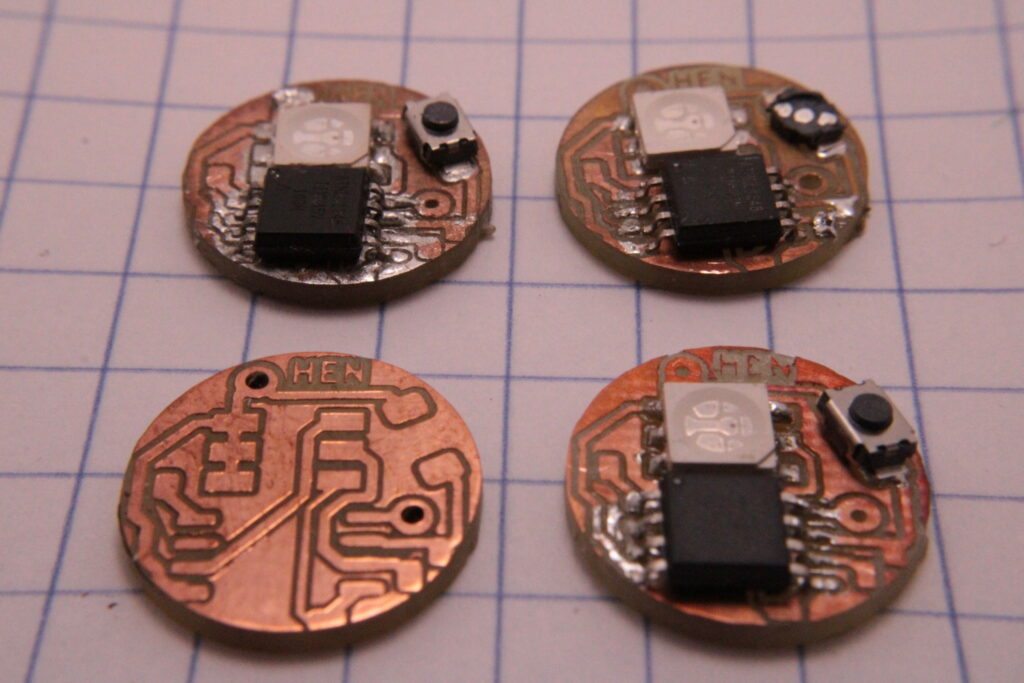
    • Includes nickel-sized PCB with light circuit
      • PCB milled at home on CNC machine
      • ATTINY 45 microcontroller runs an RGB LED
        • Microcontroller programmed in C++ without Arduino framework
        • Custom light patterns can be added 
      • Pushbutton toggles light on/off and changes light pattern 
    • Powered by two coin cell batteries that together provide ~3V 
    • Case is 3D printed, with an unscrewable top for accessing the internal circuit

Reflection

  • The first prototype was very reliable
    • Used for almost a year before the diffuser broke off
  • Second design was more fragile
    • If bike is leaned against a wall, the pushbutton is crushed 
  • Both designs are not bright enough to be seen during the day
    • Both designs are clearly visible at night
    • A higher power LED might be visible in the daytime, but would also draw more power
  • This project improved my skills significantly
    • I got better at milling PCBs by adjusting my workflow and finding better cutting tools 
    • I created the Clothespin PCB Probes in order to program the PCB, and they have been useful for other projects

Colgate Ornament

Objectives

  • Create a professional looking ornament of the Colgate University logo as a gift for my sister, a Colgate student

Process

  • Vector designed in Inkscape, based off of raster reference
  • Extruded (added depth) in Rhino
  • CNC-routed out of 3mm plywood
  • Sanded, then airbrushed and hand painted
  • Sealed with a matte varnish

Reflection

  • Looks good, but more sanding would have improved the finish
Final ornament
SVG design
Rhino render

Tiny Home Model

Objectives

  • Design and build a model of a tiny home
  • Make it as realistic as possible

Process

  • All parts designed in Onshape
  • Walls and base cut on CNC router
  • Walls painted with airbrush and floor stained with wood stain
  • Added grass and dirt for landscaping
  • Window frames, furniture printed on a resin 3D printer and then painted

Reflection

  • It came out very well – I’m happy with most of the detail
  • I especially like how the wooden floors and kitchen counter look
  • If I made another, I would try to get rid of cracks at the corners between the walls
The completed home
Render of the walls and base
The windows, with supports for resin printing
The base after staining the floor and adding grass
The kitchen/dining room

UV Curer

Objectives

  • Create a timer to control a UV light curing system for resin 3D prints

Process

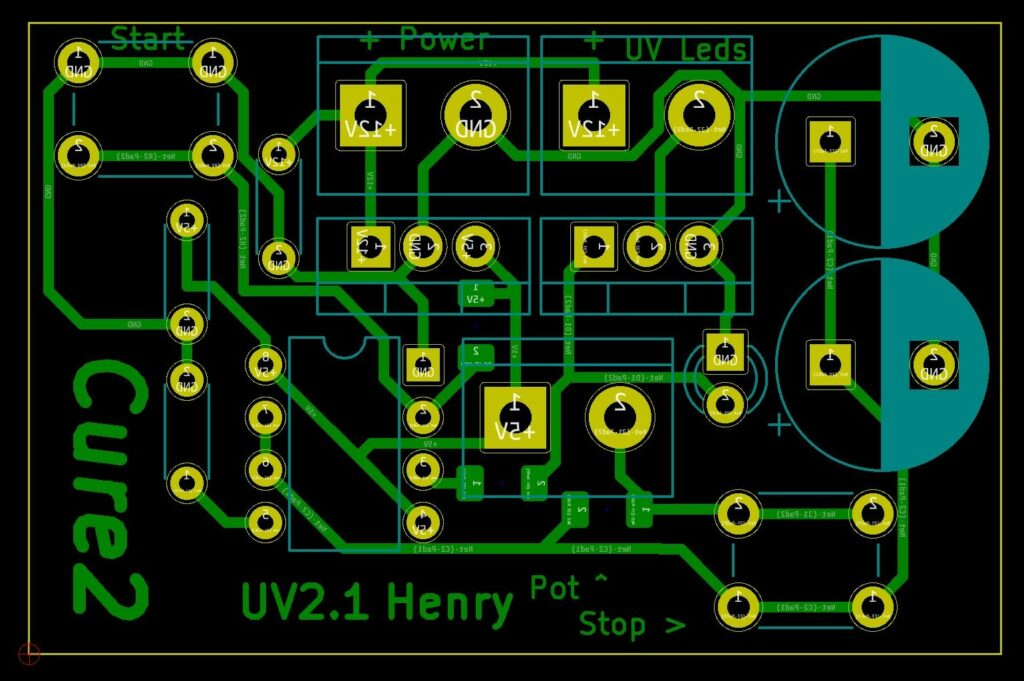
  • Circuit designed in KiCad
    • A monostable timer design based on a 555 chip
    • Timer is connected to a MOSFET to control UV LED strip
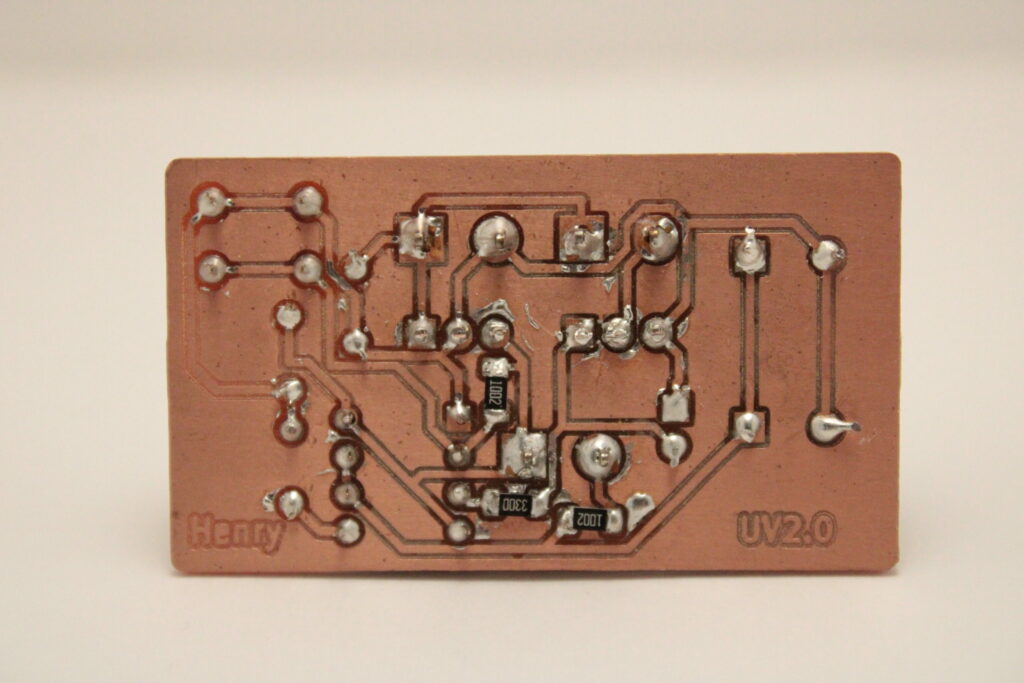
  • Design milled into single-sided copper clad board with an engraving bit
  • Through-hole and surface mount components soldered
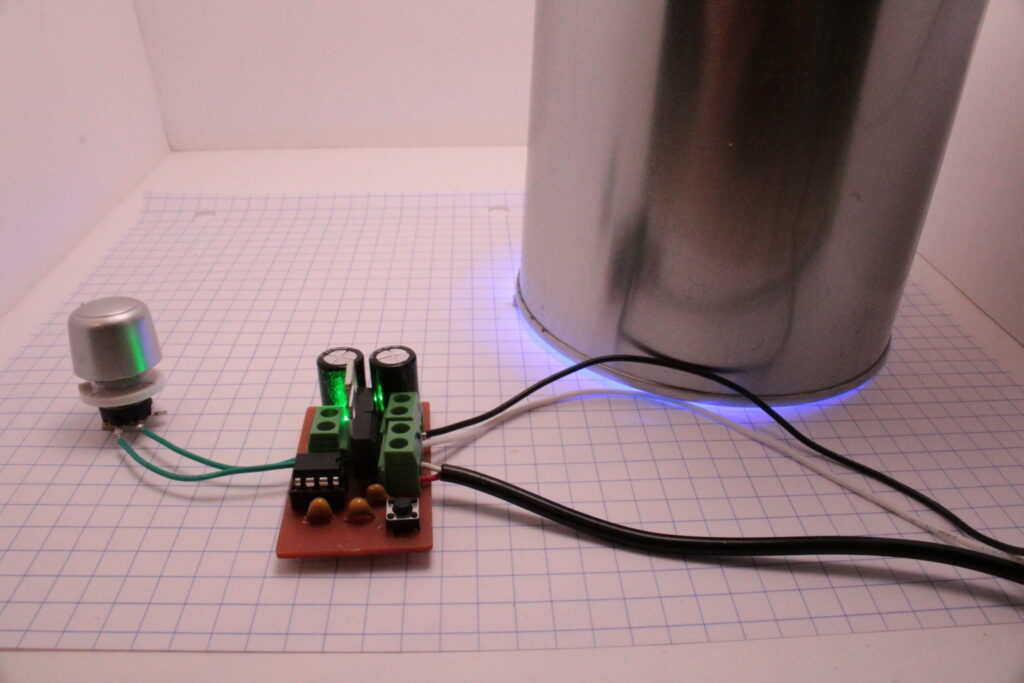
  • Potentiometer, power supply, and curing enclosure connected
    • The potentiometer sets the relative duration of the timer, and the button is pressed to begin the cycle
    • When the timer runs out, the lights shut off
    • Curing enclosure is a strip of near-UV LEDs inside of a paint can

Reflection

  • The timer circuit is perfect for my needs – I no longer overcure resin prints
  • Combining the electronics into a case would make system look cleaner
Similar PCB design in KiCad (the PCB I milled is v2.0)
PCB, with components added
The whole setup